Showing posts with label Cheap and Fun Activities. Show all posts

Sunday, August 15, 2010

The easiest finger puppets ever!

A while back, I tried to have the kids make their own puppets out of paper lunch bags. I figured it would give them something new thing to play with, something they would be proud of and would keep for a while. The craft went well, and I thought the puppets were SUPER cute, but the kids didn't play with them long. In fact, I think the excitement only lasted about 10 minutes.

The problem with the paper bag puppets was that they were too big and awkward for little hands to maneuver. So then, these little dolls were born. They let the kids use their fingers as "legs" and the thumb and pinky finger as "arms", and they were easy enough for even my 3 year old to play with.

Take a look at our fancy and cheap puppets:


If you wanna make your own:

1. Cut out a pear-shape on a piece of construction paper or card stock. The card stock would probably be better, our construction paper puppets got kind of droopy after a while.
2. Cut out two "finger-holes" at the bottom, wide end of the pear-shape. These are for the "legs".
3. Have the kids draw on a face and clothes.
4. Cut some hair out of a separate piece of construction paper. glue to the back of the head and then add ears, a hair bow, earrings, etc.
5. PLAY!

The kids played with these in a dollhouse for nearly 2 hours! The only reason they quit was because the paper started to tear and the puppets started to fall over. Next time, we'll use card stock. I just have to go and buy some first!!

Thursday, August 12, 2010

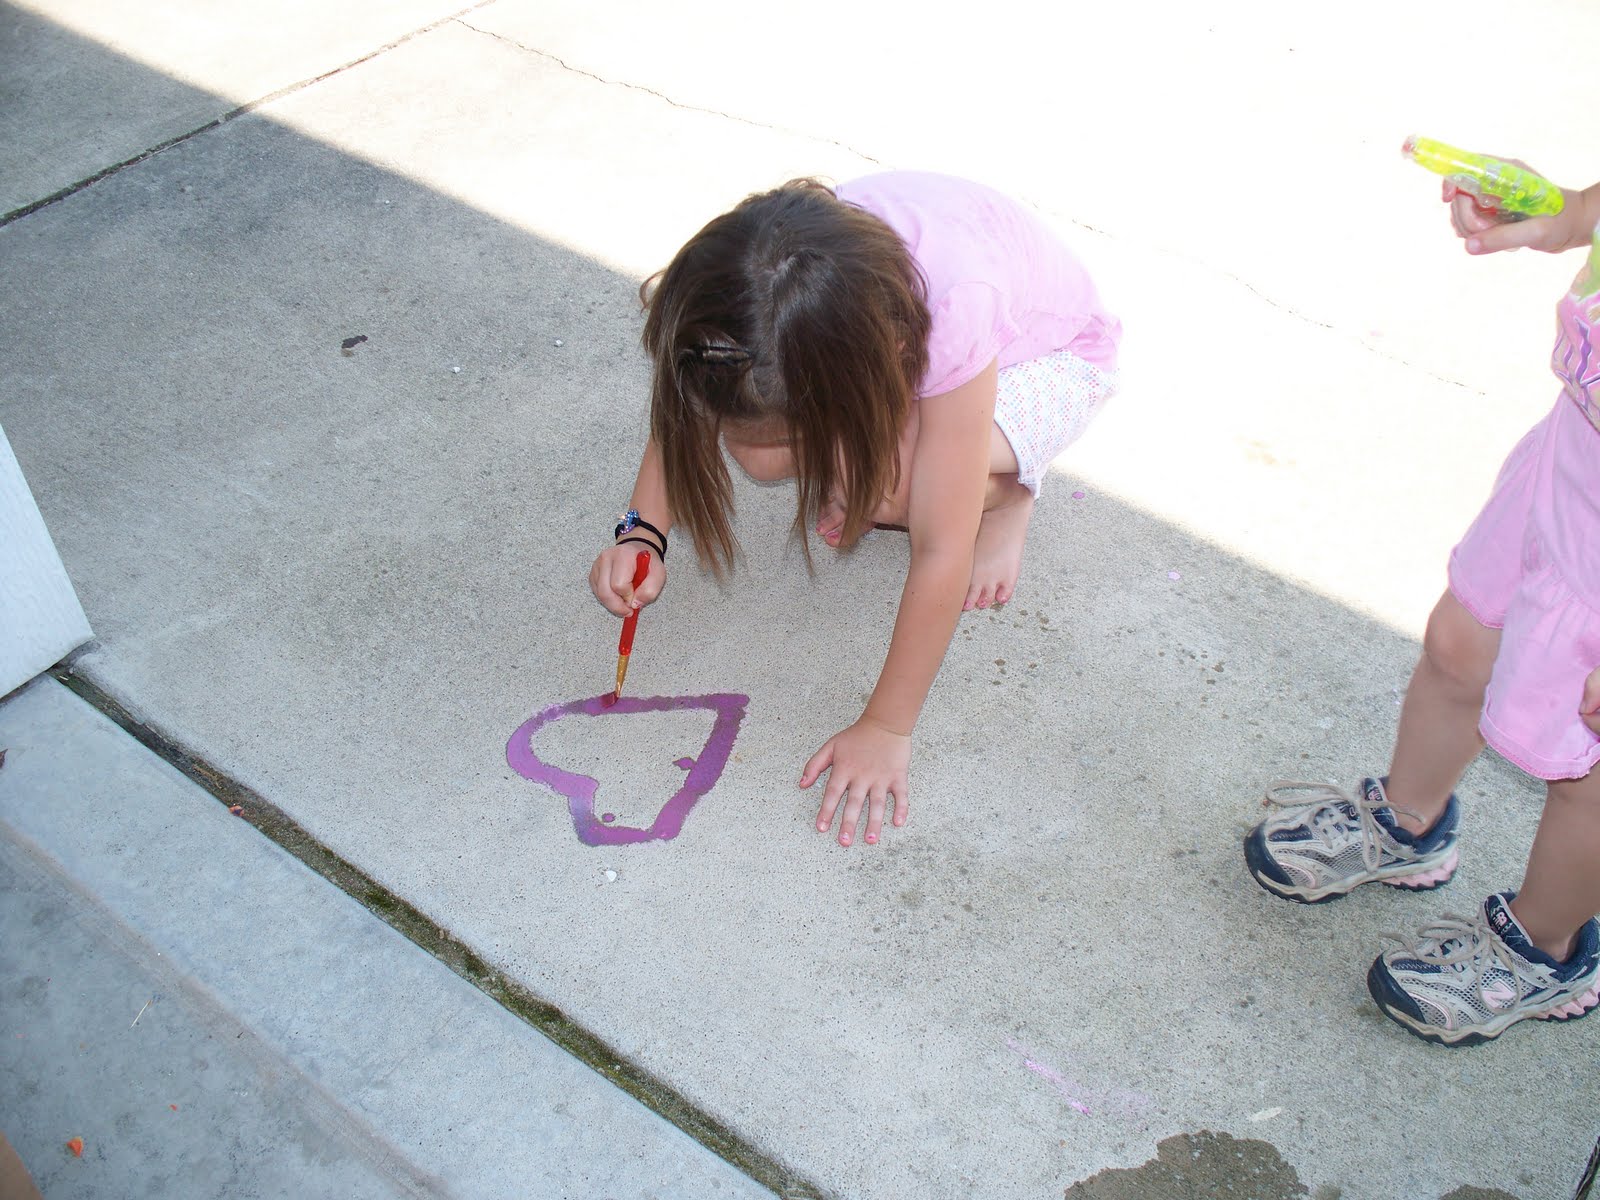
Homemade Sidewalk Paint

I love sidewalk chalk. To me, sidewalk chalk is a mother's dream-come-true for her artistic children. There is usually more than ample space for the kids to draw, and it washes away easily with a hose or a steady rain.

However, my kids prefer painting over coloring. Something about that brush makes them feel extra creative and excited. So I did a little research online for an inexpensive paint to use outside that would wash away as easily as sidewalk chalk (and that is totally non-toxic) ... and I found the perfect "sidewalk paint".

Mix together equal parts cornstarch and water in a large bowl. Pour into individual cups or bowls and then add food coloring to make different colors. Then paint like crazy on the sidewalk!!


I found that an old styrofoam egg carton was the perfect container for the individual paints. It gave the kids the opportunity to mix them to create even more interesting colors! I just filled only half of the cups and left the remaining empty.

Our paint washed away the next day with a good summer rain. Good thing it's easy to make more!

Wednesday, August 4, 2010

At the Car Wash, yeah!

It has been about a million degrees and ridiculously humid here recently, so we've had to spend a lot of our time indoors. However, kids don't do well cooped up for too long ... and I could tell that tempers were getting short and toys were getting boring, so I decided to let the kids wash my car one day.

This activity would have cost me pretty close to nothing, except I had to buy a hose and a few sponges. I filled a bucket with water and some dish soap, and let the kids go crazy. I think we were out there for an hour at least!

Please note, dish soap isn't the best thing to use for washing a car as it isn't really good for your paint. I personally am not concerned with the paint job on my car at all, and I figured dish soap would be easier on little hands than actual car soap. But please don't use it if you have an attachment to a nice, shiny, gleaming paint job.

I had totally forgotten how much fun a simple car wash could be!

Wednesday, July 14, 2010

Edible Jewelry

Never underestimate the power of "snacks on a string". Kids love them.


For these we used extra long pieces of licorice strung with a few different types of cereal, some cereal straws, and a few pretzels. Bonus ... I didn't have to take any extra food with us to the park in case someone got hungry.

Saturday, June 26, 2010

Recyclable Recycling Boxes

As I mentioned in a previous post, we've started a recycling program in our house. It's been about a month now, and I'm pleased to report that it's going GREAT! The kids LOVE to throw stuff into the boxes, and they even look on the bottom of plastic things in the store or out at restaurants to see if it is a #1 or #2 plastic (the only kinds that we are able to recycle right now).

I thought I'd share a quick post about the boxes that we use for our recycling stuff. They were leftover from a recent move ... I shut the boxes, flipped them on the side and opened up the top with a craft knife. Then we covered them with some wrapping paper and the kids drew earth pictures on them. It was a super easy way to re-use some boxes for a good cause!


P.S. I even made something else out of the cut-out top of the box! More on that in a later post!

Saturday, June 5, 2010

Pretzel coating fun!

My daughter loves the chocolate-covered and sprinkle-laden pretzels that you can usually only find around the holidays. For the last few weeks she's been asking for them, so one day recently I decided that we'd attempt to make them at home. It's actually a fairly inexpensive activity, and cleanup is relatively easy ... what else could a mother want? This would be fun to do on a rainy day when the kids need something fun to do indoors to keep them entertained ...

First, you'll need to buy some pretzels ... obvious, I know. Next, you'll need to find the coating. Now, for this I suggest Almond Bark. It's pretty cheap (which is nice in case you wind up wasting a batch by dropping it on the floor ... I'm just saying) ... and it melts up beautifully in the microwave. Just follow those good old package directions, they won't let you down. You can usually get Almond Bark in a few flavor options in the baking aisle of the grocery store. I also recommend having some wax paper handy.

Then ... let the pretzel fun begin! Simply heat up the Almond Bark, dip the pretzels in, and let them cool on some wax paper! If you are adding sprinkles or decorations of some kind, do that before they cool, or the sprinkles won't stick right. We also found that fishing the pretzels out of the chocolate is easiest for little hands if you let them use a fork:


The fork will help the excess chocolate drip off before placing on the wax paper. That way you can make a lot more pretzels and don't wind up with a pretzel completely lost in a mound of hardened chocolate.

By the way ... don't feel limited to pretzels with this activity either! Try dipping bananas, animal crackers (my personal favorite), strawberries, or summer sausage! ... ... ... Nevermind that last suggestion, I got carried away there.